My First Deployment
My First Deployment
A step-by-step guide to creating your first deployment on Nosana through the Nosana dashboard.
Prerequisites
- Nosana Account: an account registred on the Nosana Dashboard
- Credit Balance: Sufficient credit balance on your Nosana account to run deployments.
Steps
Step 1: Click on 'Deploy'
In the dashboard, click on 'Deploy' in the left sidebar to start creating your deployment.
Step 2: Configure your deployment
Fill in a name and select a template. For this demo, we'll be using a ComfyUI Image Generation template. You can use the default template for now, or click 'Edit' to access more advanced settings.
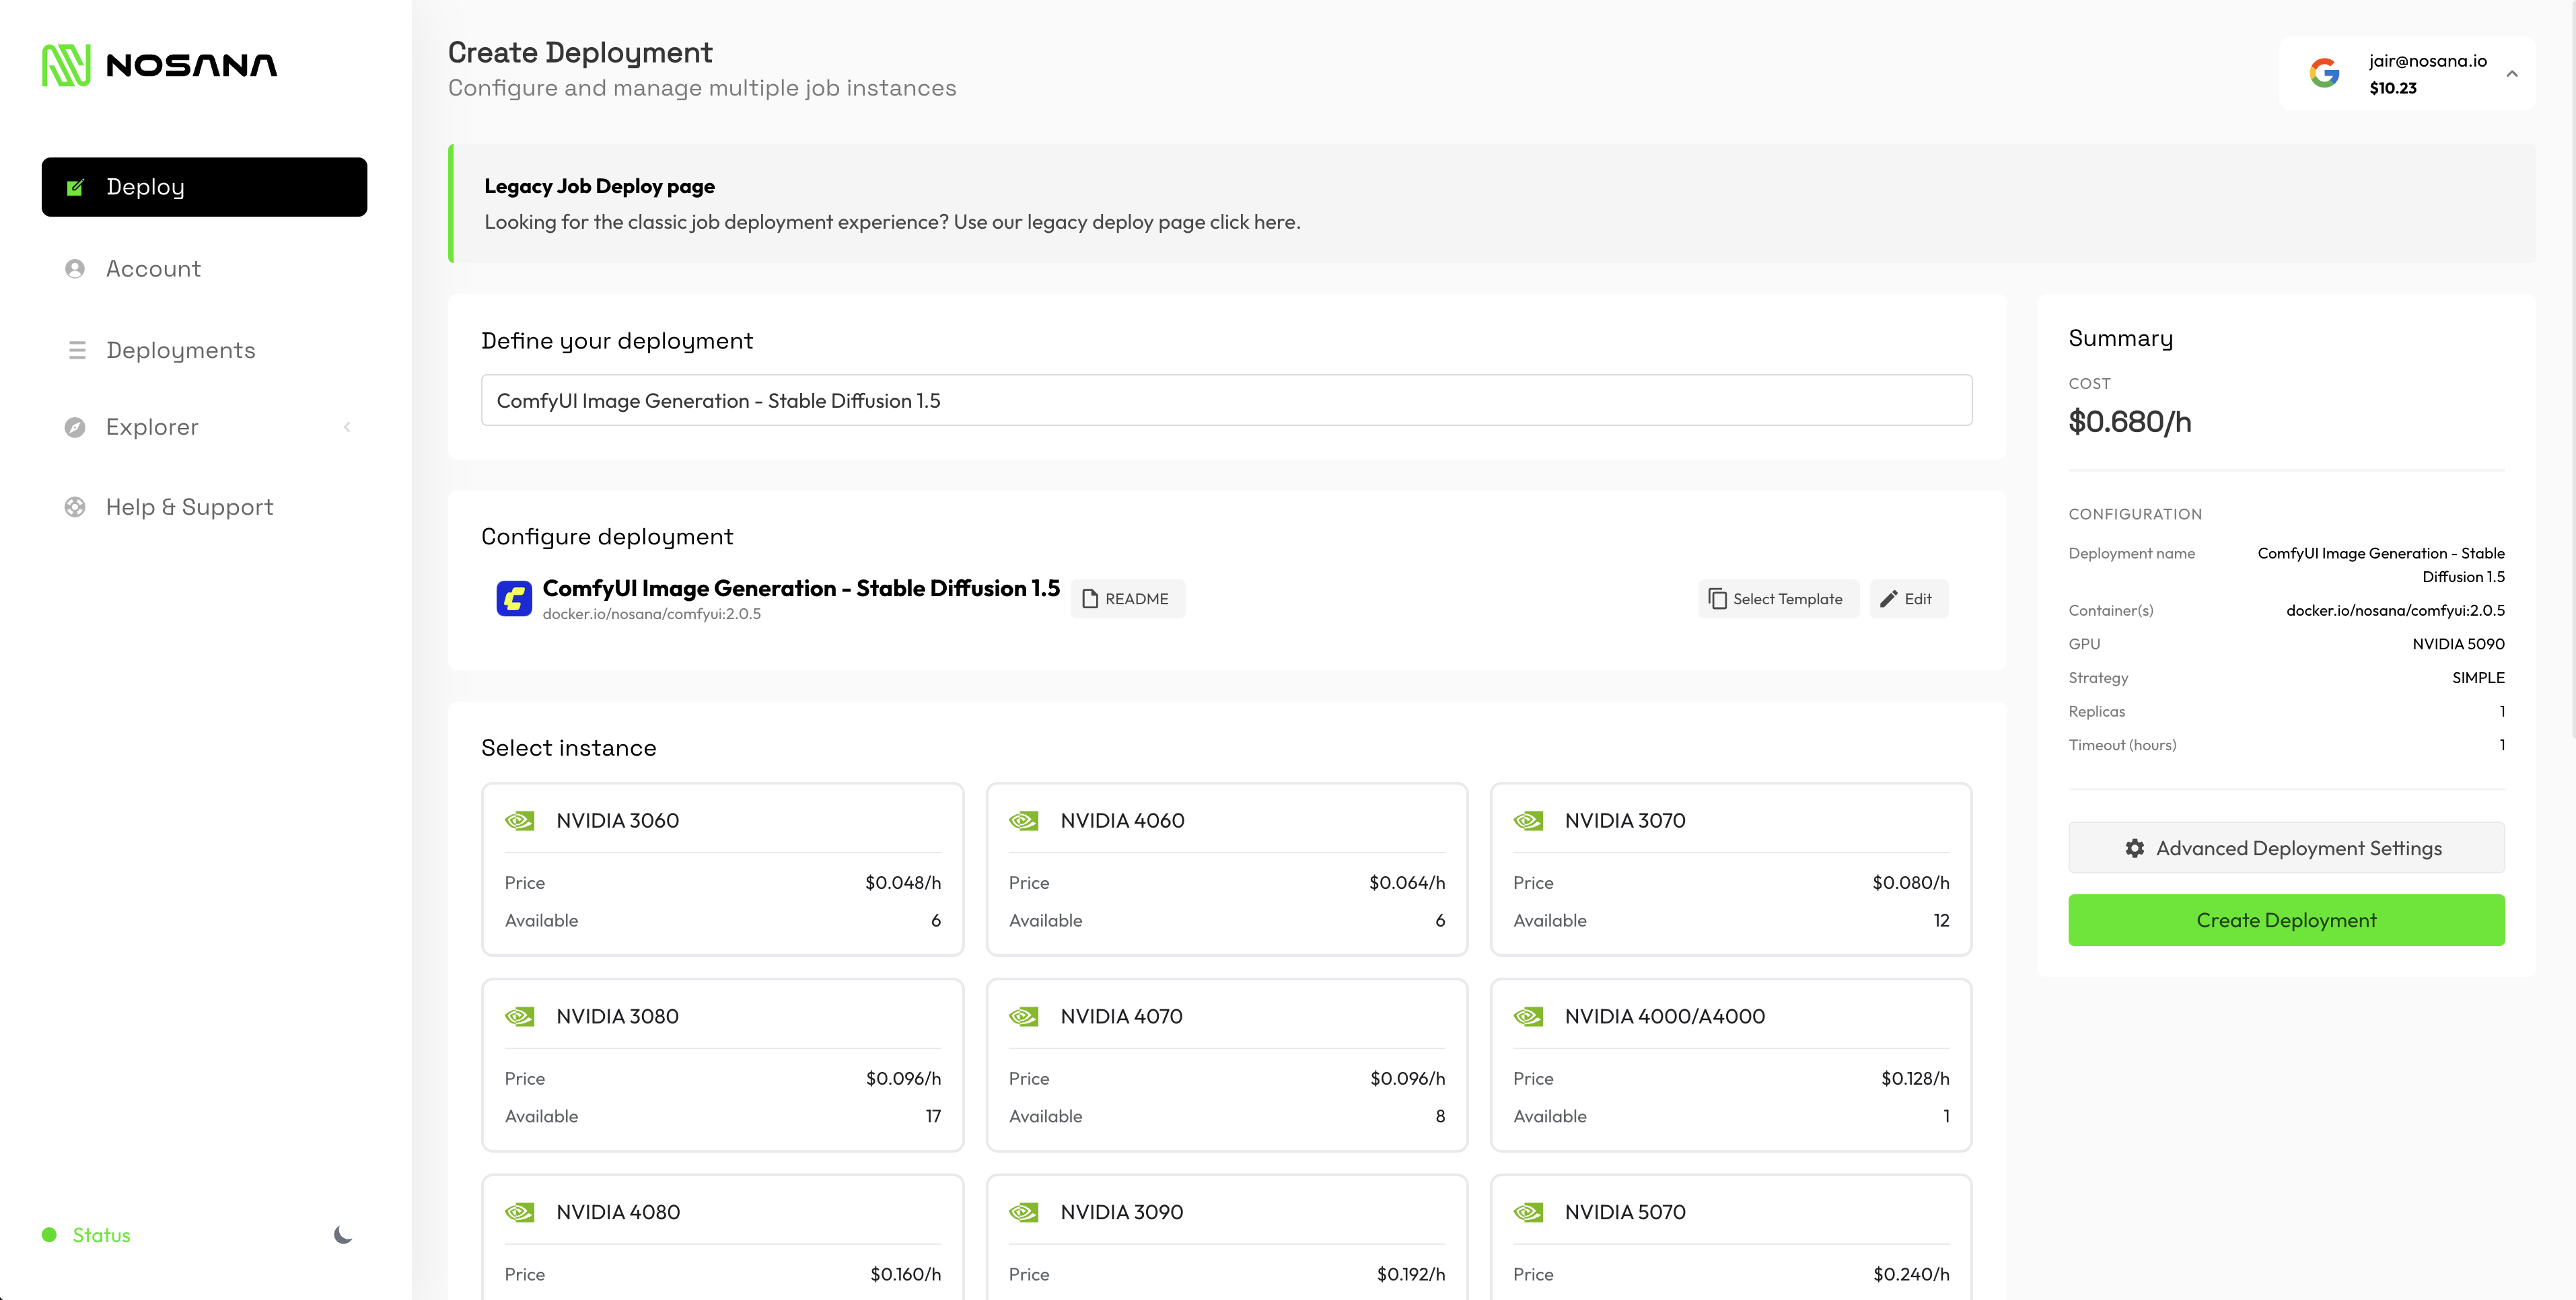
Step 3: Select a GPU
Select a GPU for your deployment. For this demo, we'll select an NVIDIA 5090.
Step 4: Configure deployment settings
You can use more advanced deployment settings, but for this demo we'll use the default settings: a SIMPLE strategy with 1 replica and a maximum duration of 1 hour.

Step 5: Create the deployment
Click on 'Create Deployment' to finalize and create your deployment.
Step 6: Deployment starts automatically
You will be redirected to the created deployment page. The deployment will automatically start. You can follow the starting progrress in the 'Logs' section.

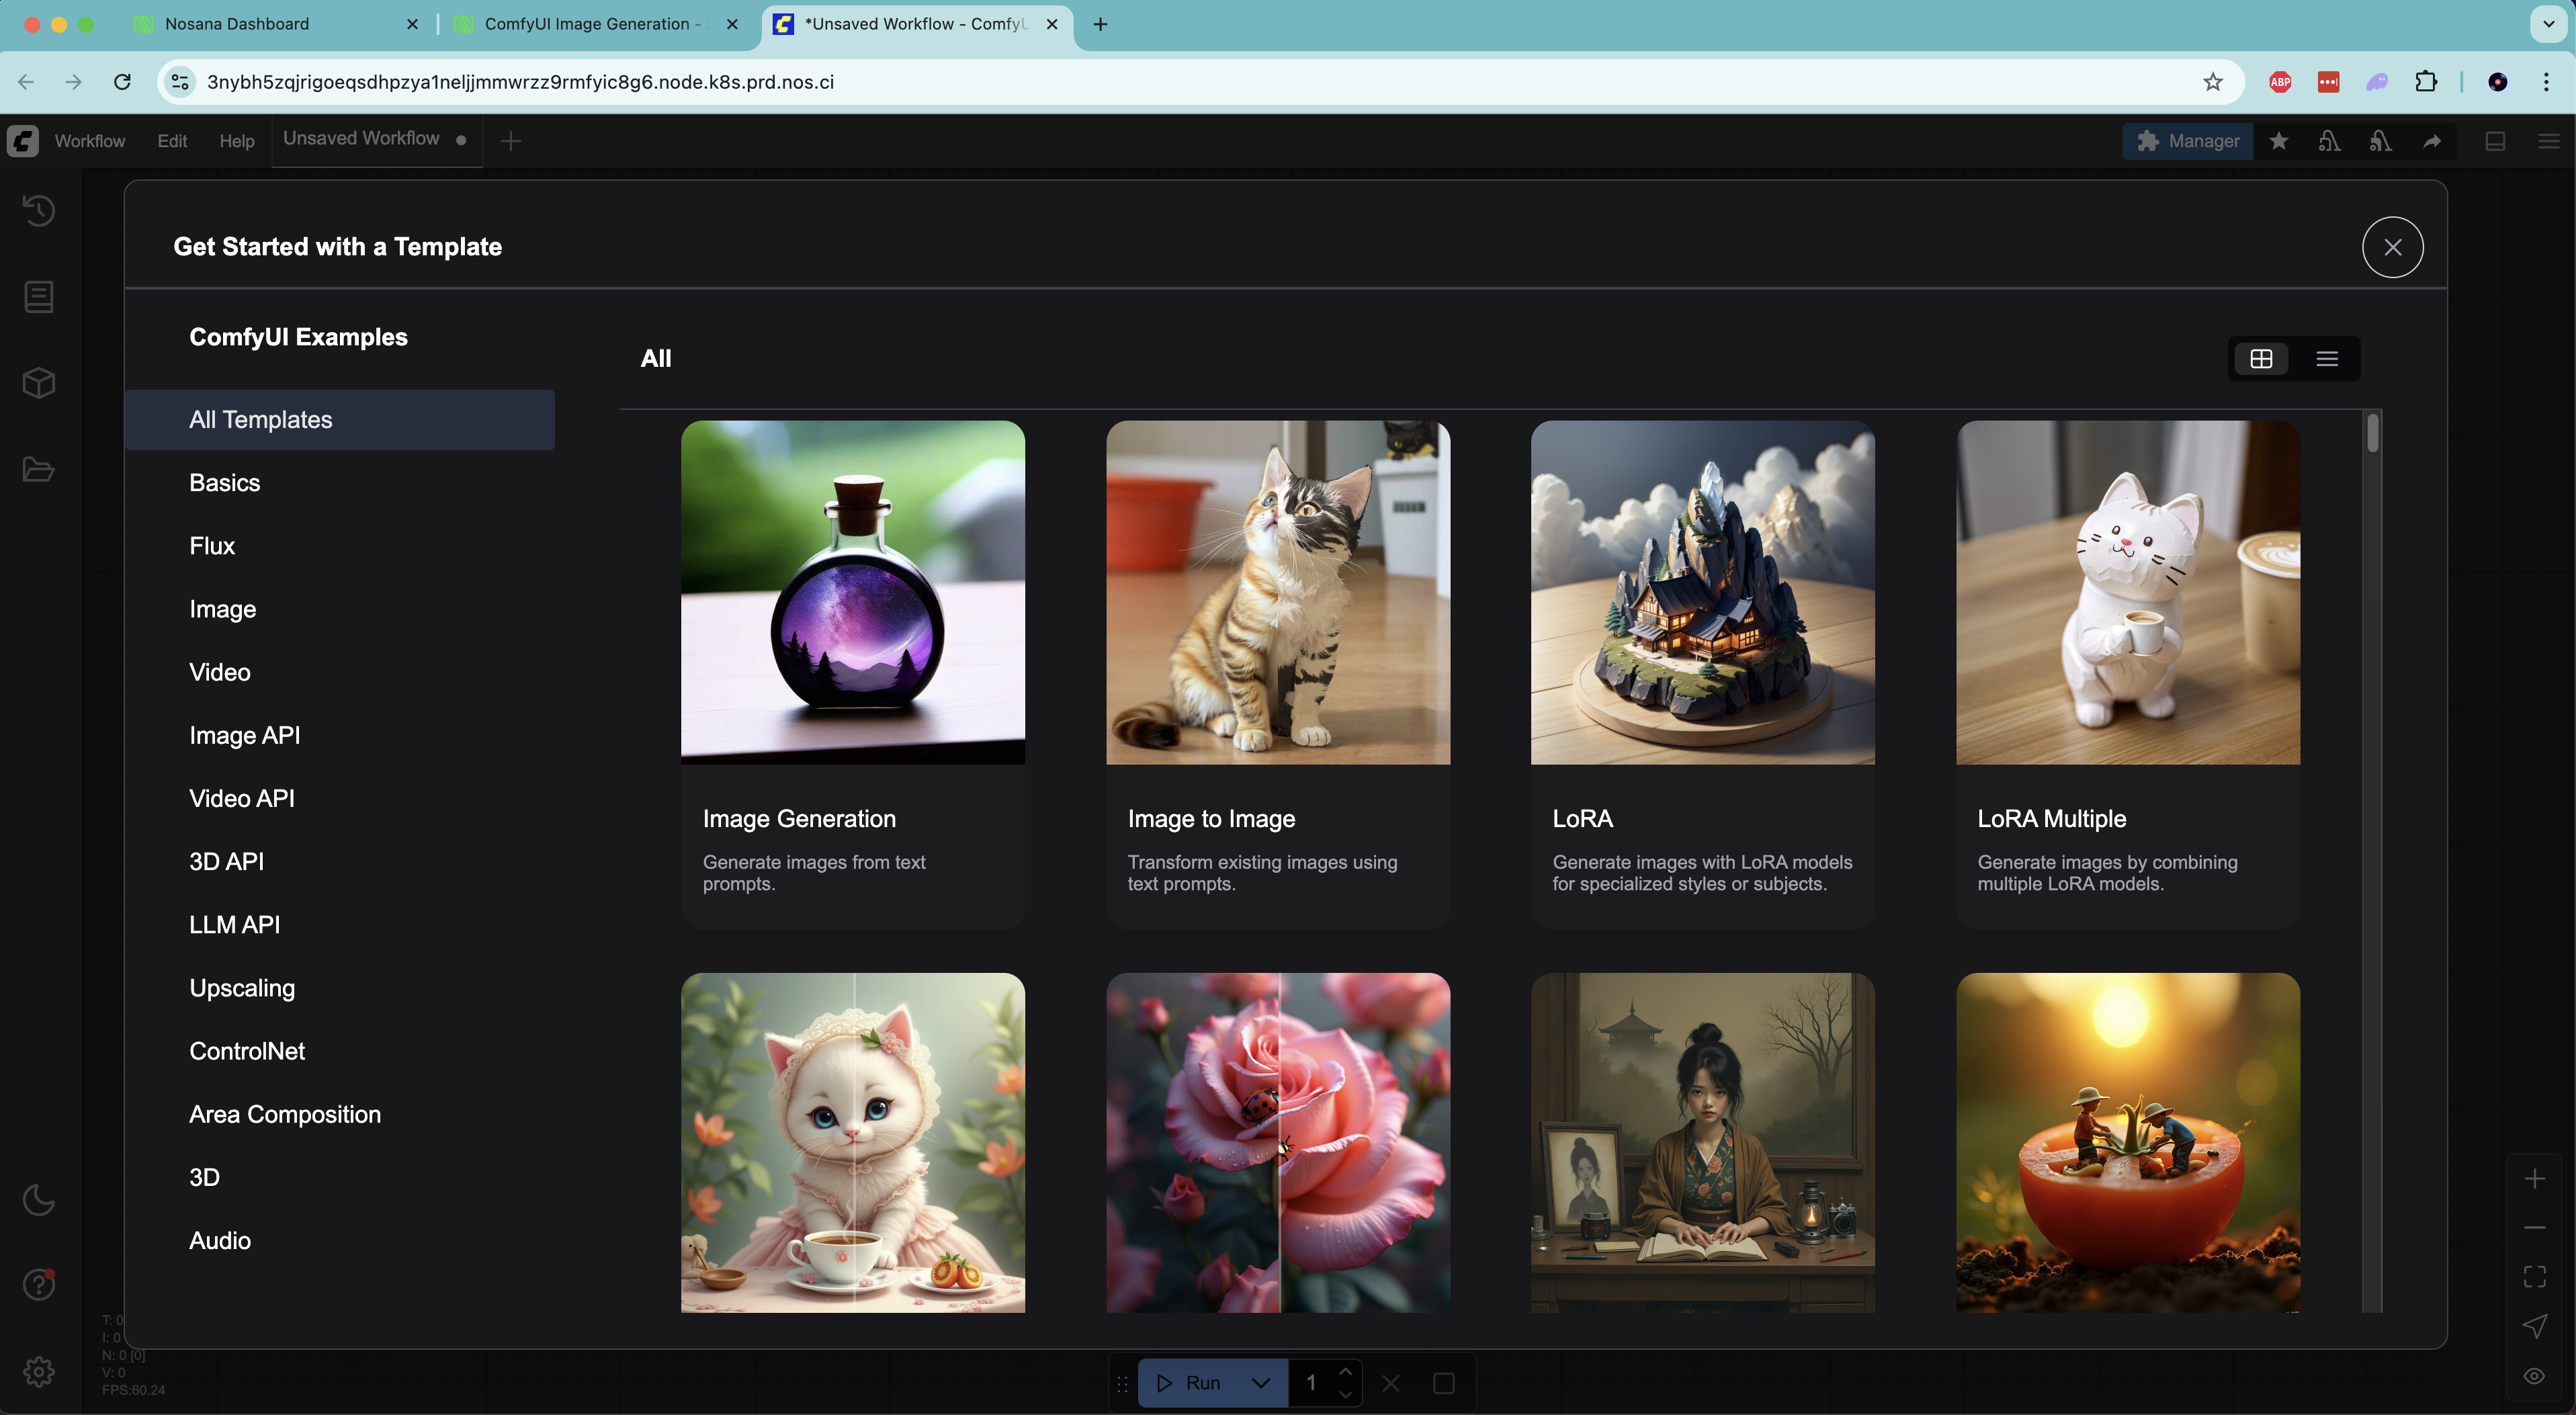
Step 7: Access your endpoint
Once the deployment has started, your endpoint to use the ComfyUI is ready. Click on the endpoint link to access the server.
Congratulations!
Woohoo! You have run your first deployment on Nosana.
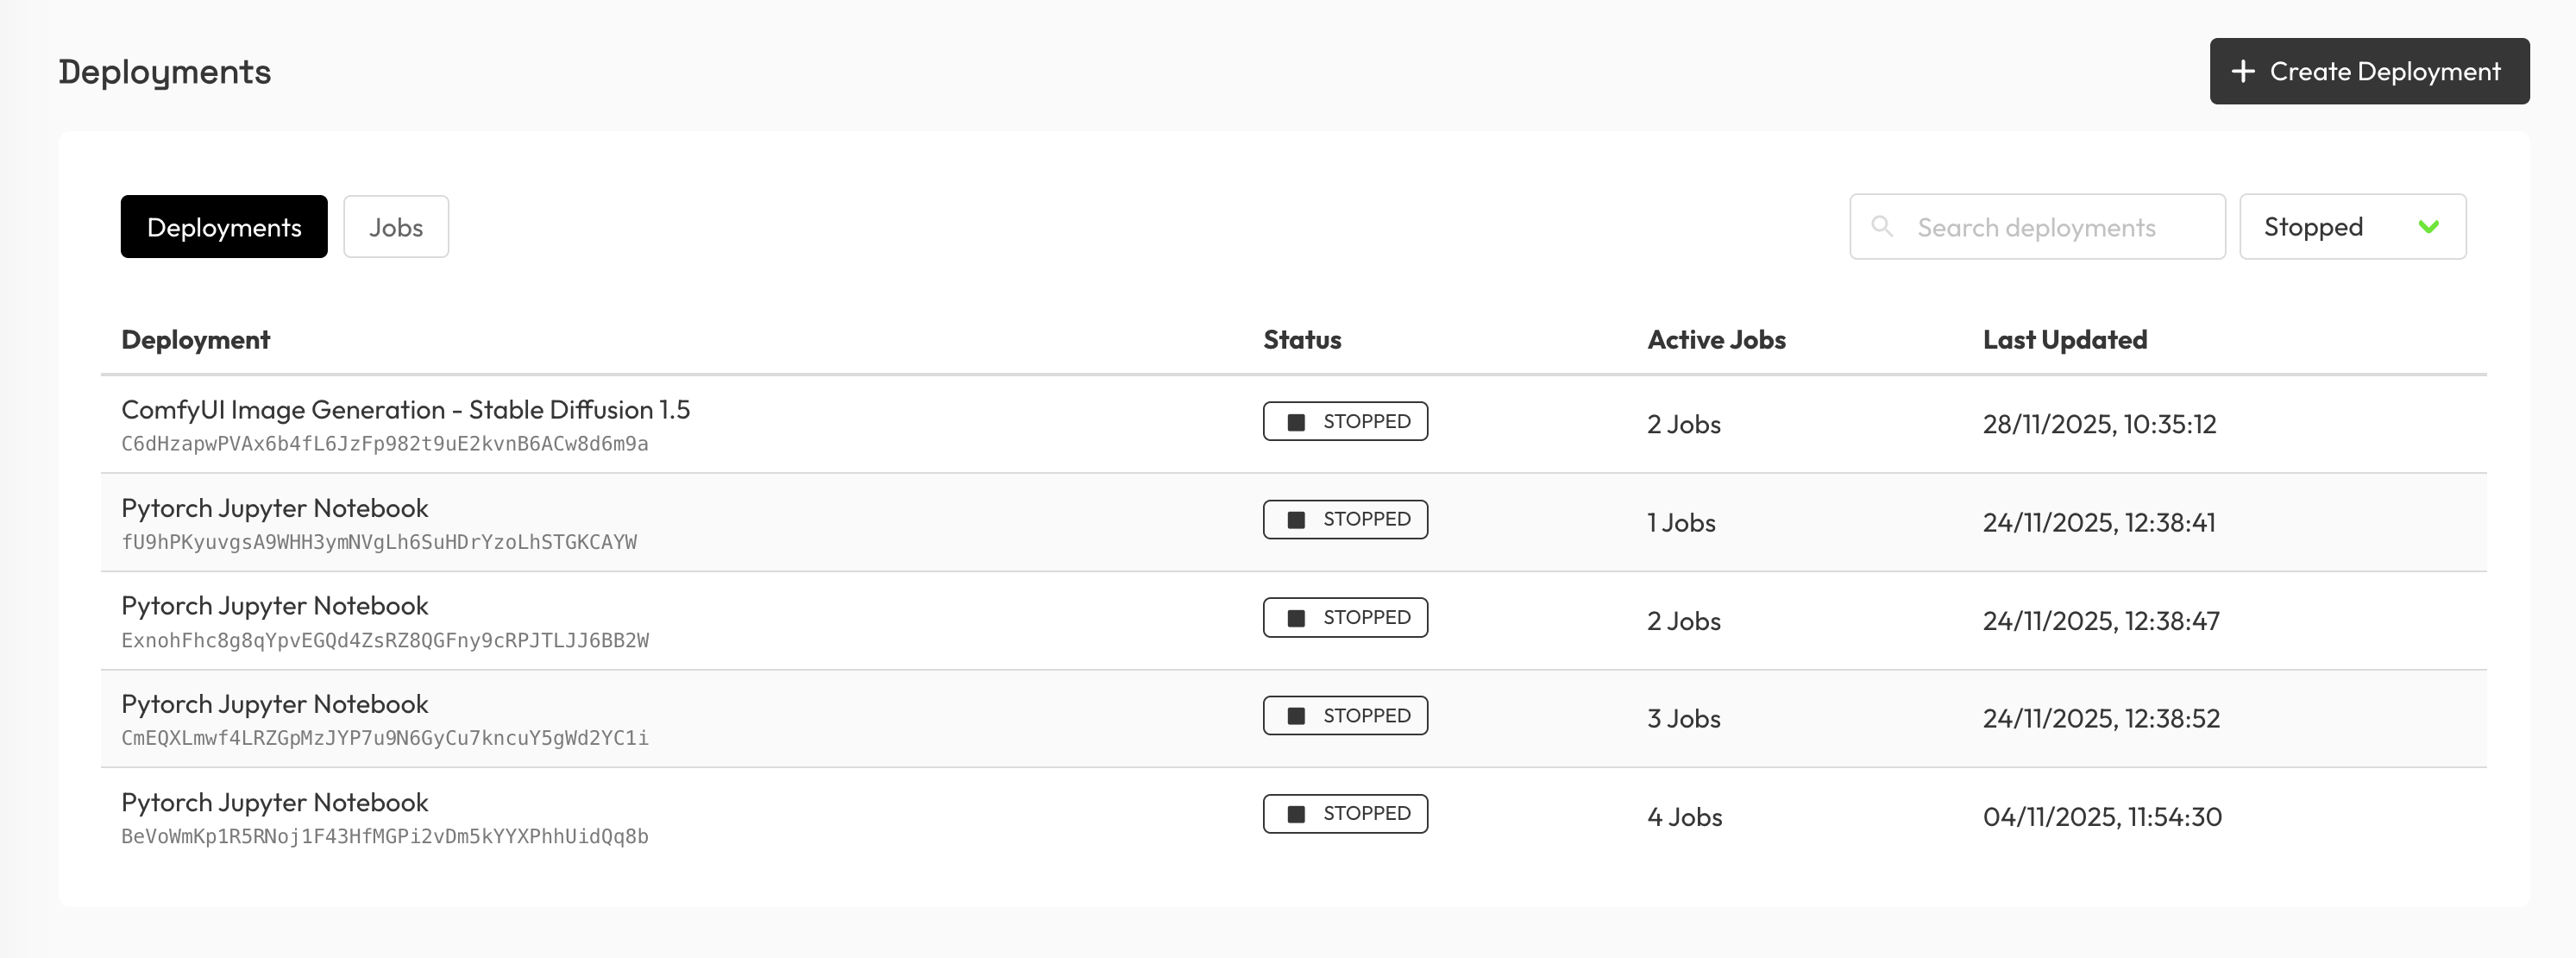
Viewing Your Deployments
You can find an overview of all your deployments on the Deployments page in the left sidebar.